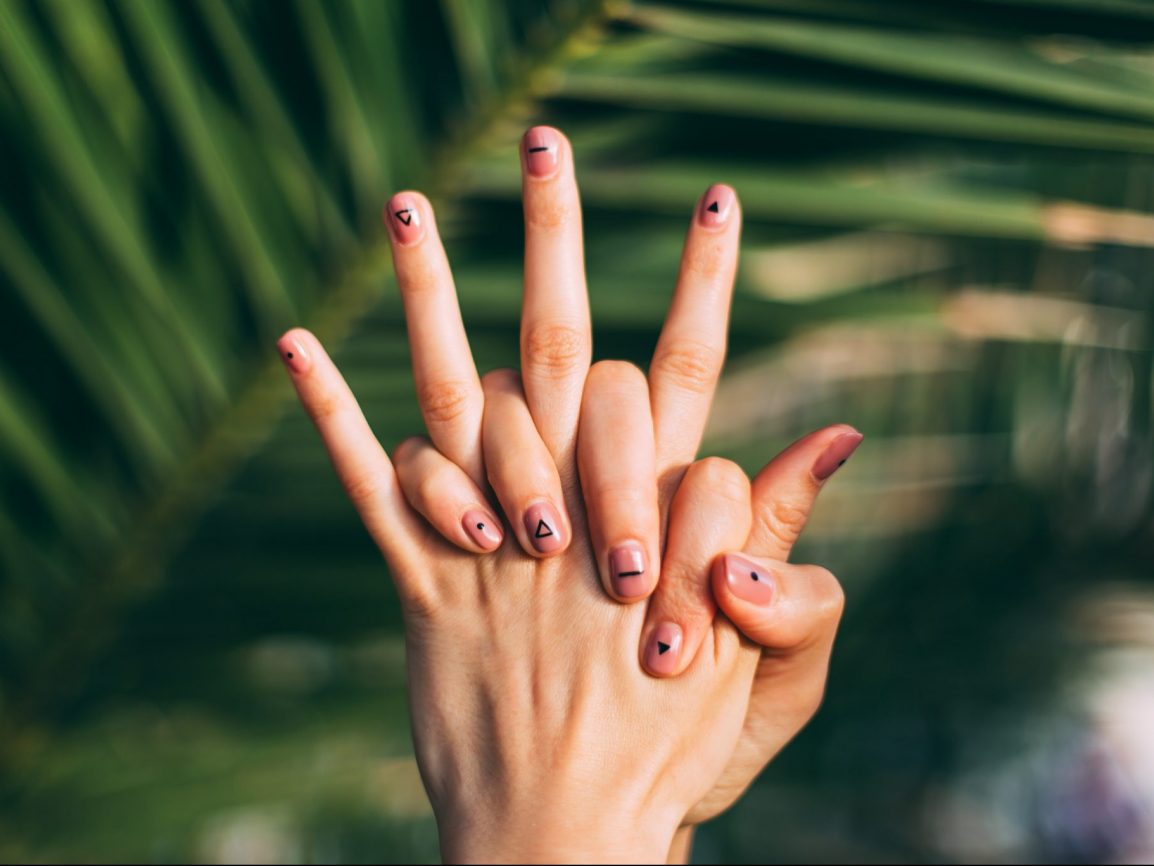
Want to give yourself and your friends a manicure that looks like a professional did it? Do you love fun nail designs, but struggle to paint them on yourself (especially with your non-dominant hand)? Want fun nail decals without going to the store for them? Look no further, because I have a DIY nail decal tutorial that should be perfect for you!
Supplies
- Nail Polish to create your design (or even acrylic paint)
- I’ve found that any kind of polish typically works, but going by the rule of thumb that if it works best on your nail, it’ll probably work best for your design typically is useful. Acrylic paint can also work wonders here!
- Clear coat nail polish
- This is a must! Not only to seal the design, but to actually make the decal.
- A Ziplock bag (or any plastic, somewhat durable freezer bag, or even a sheet protector)
- Make sure it’s big enough to fit your designs on, otherwise you might need two! You could also use a sheet protector and put a piece of paper in it with squares on it to block out the shape and size of your designs. You could even print your designs and trace them this way. You could even make a custom logo design for one of your designs!
- Toothpicks (or a nail pen, a paint brush, or anything that will let you draw with your polish)
- To make your designs!
- Tweezers
- To peel off and put on your decals.
- Scissors
- To cut the excess away so that it fits your nail!
The Tutorial
Honestly, this is super simple. BUT sometimes the nail polish doesn’t always want to cooperate, so I highly suggest making extras of each design just in case.
On your ziplock bag, put a layer of clear polish and let it dry. Try to make this layer slightly bigger than your actual nails. Then, use your drawing tool to create the design you want on top of the clear layer. I’ve always used nail polish to create my design, but I’ve seen others use acrylic paint and that’s worked as well! Let this dry.
Tip: I’ve found that putting my designs in the freezer to dry helps them solidify faster and makes them a little more durable when I’m trying to put them on my nails!
While these are drying, go ahead and prep your nails with a base color of your choice. Once your decals are done, use your tweezers to GENTLY (they are delicate, so be very careful) peel your designs off of the plastic. Cut away any excess clear polish that might surround your decals. Then, prep your nail with some clear polish and, before the polish dries, use the tweezers to position a decal onto your chosen nail. You can move the design around for a few seconds before the polish dries the decal into place. Repeat on any other nails you decide to add a design to!
Conclusion
Overall, this is a super easy way to create nail art for yourself, using only your dominant hand! I find this especially useful because you don’t have to spend a super long time on your nails. While my decals are drying, I can go about my day as usual. I hope you liked this and give it a try!
Check out more nail inspiration articles from GirlSpring contributors!


