Whether you just got your first set of keys, or the latest backpack and purse, nothing makes them your own like personalized keychain tags that were created just for you. And the best part about this project is that it can be done in just a few hours with your friends. The primary ingredient to your DIY project will be epoxy resin, so let’s dive in on what epoxy resin is, and how to use it.
What is Epoxy Resin?
Epoxy resin is a combination of chemicals that comes in two parts: Part A and Part B. When both of these parts combine, you are able to create a hardened material that can turn into almost anything!
Art Resin is an awesome product to use for DIY projects because it is FDA Food Safe if you’re looking to use it across a surface you might eat on, and it is also is UV resistant, so if you take your keychain to the beach it will stay the color you created it.
Epoxy resin also gives you the flexibility to create almost anything you can imagine!
Preparation for DIY Epoxy Keychains
As stated above, epoxy resin is fantastic to use for many projects. But because it is a chemical mixture, it’s important that you prepare properly. The preparation can be broken into three steps, procuring your materials, setting up your space, and measuring your epoxy ratios.
Collect your Epoxy Craft Materials
Grabbing the right materials is what sets you up for success in your Epoxy Resin DIY – so be sure to do your research and follow the guidelines below.
- Epoxy Resin
- Mica Powder
- Mixing Sticks
- Drop Cloth / Tarp
- PPE (gloves, masks, goggles)
- Level Working Surface
Epoxy can be a messy substance, so make sure that you’re working far away from nice carpets or family pets who like to knock things over.
Setting Up Your Epoxy Working Space
Once you have all your materials, you want to pick the perfect place to start your epoxy resin DIY. Here are a few things to keep in mind:
- Find a well ventilated space. Since you are working with chemicals, you want to be sure that your space is set up to allow fresh air into the room. Not only to keep you safe, but to also help your epoxy resin harden.
- Find a level surface. Epoxy resin will harden in the mold you create and give you a nice glossy finish. But if you’re working on a crooked table, that epoxy resin will harden crooked. Be sure that you have a level table that you can work on.
- Spread out your tarp. Epoxy resin can sometimes spill, so it’s important that you have your table covered as well as your floor to prevent damaging the surfaces around you.
Measuring and Mixing Epoxy Resin
Measuring out your epoxy resin is up there as the most important step to your epoxy project. When mixing both parts together, it’s crucial that the ratios are exact. This way the chemicals can react properly to give you that hardened, glossy finish.
Using an online epoxy calculator is your best bet to help you get those measurements perfectly!
With the proper ratios established you can then add in your mica powder. This will give your project lots of color and help it stand out.
Creating Your Epoxy Keychains
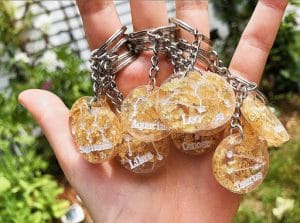
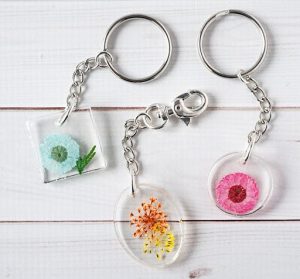
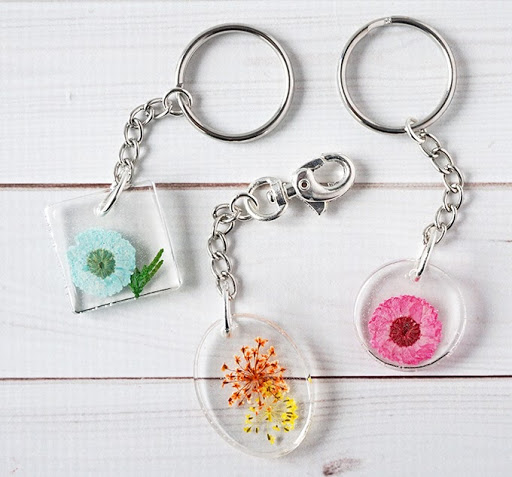
Once you’re fully prepared, you can start your pour. Fill your keychain molds up with your epoxy mixture. You can use different colors from your mica powder or even add in glitter and small objects.
Below are some of our favorite epoxy resin keychains.