Christmas DIY Projects
I’m going to be honest. I do not do a lot of DIY crafts. But for some reason, the Christmas season forces it out of me. I love making crafted gifts and just doing projects with a little kid that I babysit. Each year we come up with some new to try. This year we’re going to be creating Marbled Christmas Ornaments, Candy Sleighs, and Rudolf Hot Chocolate Bags.
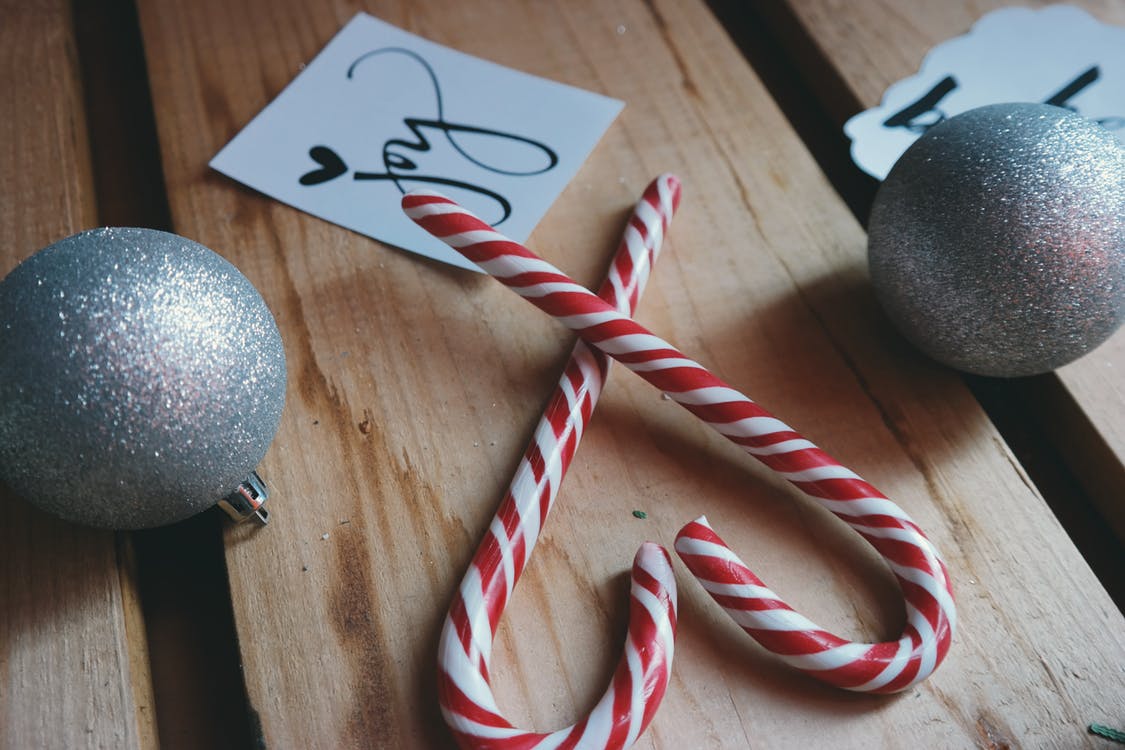
Marbled Christmas Ornaments
The Marbled Christmas Ornaments are simple. You need a single or multi-pack of glass or plastic Christmas ornaments and some Acrylic paint. Take the silver topper off the ornament and squirt a little bit of the colored paints you want into the ornament. Then, you can place the topper back on or hold something over the opening to shake it. Once you’re done shaking, you can choose to add more colors or glue the topper back on. Et Voila! You have made a cute homemade gift for you or someone else.
Here’s a breakdown of the Marbled Christmas Ornaments supplies:
Glass (or plastic) clear ornaments
Hot glue
Acrylic paint (whichever colors you like)
Here is a link to another way to make the ornaments using water and nail polish:
http://www.aliceandlois.com/diy-indigo-marbled-ornaments/
Candy Sleighs
The candy sleighs should not be too difficult. All you need are candy bars that you, or whoever you’re giving them to, enjoy. You will want three-five different size bars to make the sleigh look cooler, and you need two candy canes for each one.
Lay your two candy canes parallel from one another, then glue your largest candy bar lengthwise them. Now, to stack the rest of the candy bars you can use either glue, tape, or pray they stay in place with a ribbon. If you want your sleigh to be a candy surprise you can always wrap the bars in wrapping paper.
Once the final bar or piece of candy is stacked, take a shred of ribbon (it doesn’t matter what kind or color you use) and wrap it vertically around the candy cane and stack. Tie at the top in a single knot. Then take another ribbon of the same pattern and color and wrap it around the stack horizontally (the candy cane will not be wrapped with this one). Tie at the top with a single knot. If you don’t want to tie them, you can tape them flat to the top piece of candy.
Finally, take a bow of your choosing and place it atop the candy sleigh. And now you have something both cute and delicious.
Here’s an overview of the supplies needed for the Candy Sleigh:
Candy Bars (different sizes)
Two Candy Canes (per each sleigh)
Hot Glue
Tape
Ribbon
Bows
Here is a link to a Pinterest post on how to do this with extensive details:
https://www.justapinch.com/recipes/candy-sleighs.html
Rudolf Hot Chocolate Bags
The last craft is the Rudolf Hot Chocolate Bags. This one will take a little bit more effort, because it requires printing (already prepared) tags, punching holes in them, and threading a ribbon. But the tags are important because they hold the instructions, so just bear with that step.
To begin, make sure you have these supplies:
Googly Eyes (can be bought at craft stores or Target)
Little Red Pom Poms (again, at craft stores or Target)
Brown Pipe Cleaners (Target, Walmart, or craft store)
Icing Piping Bags (Target or Walmart)
Box of Hot Chocolate Packets
Bag of Mini Marshmallows
Semi-Sweet Chocolate Chips
Ribbon
Printer
Glue (hot or sticky)
You can either start with placing the ingredients inside the Piping bags or you can decorate the outside (whichever works best for you). If you choose to do the ingredients first, then empty a packet of hot chocolate into a piping bag, making sure it all goes to the point of the bag.
Then, add in the semi-sweet chocolate chips (a handful or less should be enough). Add in some mini marshmallows, making sure to leave some space to seal the bag. Wrap a ribbon around the sealed part of the bag, adding the printed, prepared tag to it.
Take two pipe cleaners and glue them to the back side of the piping bag parallel to each other. You can bend and twist the pipe cleaners until they reach a sort of antler shape. Next place two googly eyes a few centimeters apart in the center of the bag or over the chocolate chips. Be sure the eyes are on the opposite side of the bag that the antlers were glued.
Take a single red pom pom and glue it a few centimeters above the tip of the piping bag. That’s it. You’re done! You have successfully created THREE Holiday DIY projects. Everyone will love them, and you will appreciate the little effort and money you put into them.
Here is a link to more detailed Reindeer Hot Chocolate Bag instructions:
https://everydaysavvy.com/easy-diy-gift-reindeer-hot-chocolate-recipe-instuctions/#_a5y_p=1123007